Configure Initial Network Settings
After power up, the following startup message is displayed on the appliance console:
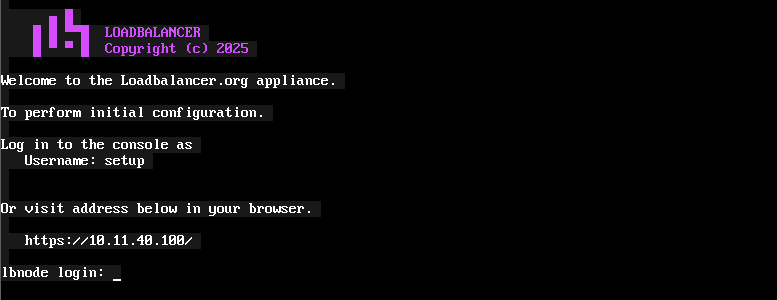
| If the welcome screen shown above does not appear, press CTRL-D. |
As mentioned in the text, initial network configuration can be performed at the console or via a browser. This will enable you to configure the management IP address and other network settings for the appliance.
At the Console
To start the console based setup process, login as the "setup" user. Once logged in, the Network Setup Wizard will start automatically.
Username: setup <Enter>
| A password is not required. |
A series of screens will be displayed that allow network settings to be configured:
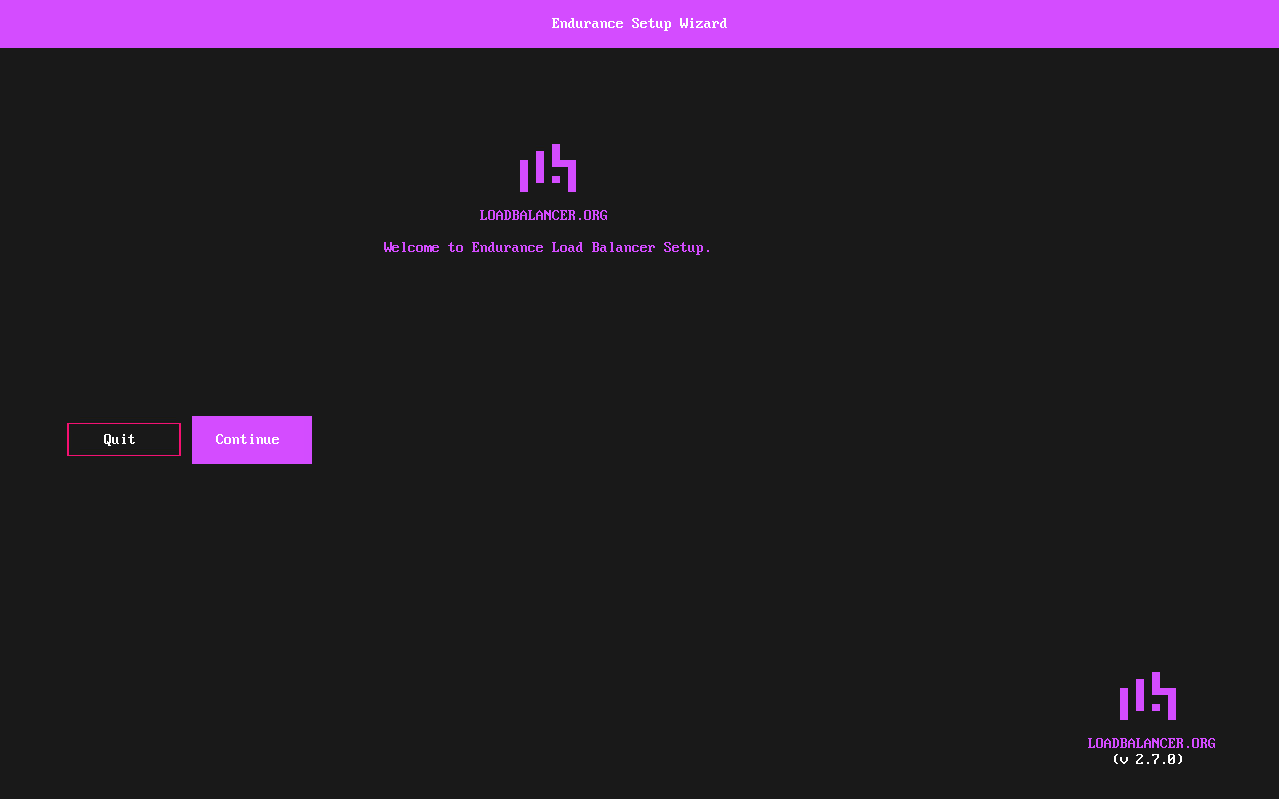
In the Welcome to Endurance screen, ensure Continue is selected and hit Enter to continue.
In the keymap screen, select the required keymap settings and hit Enter to continue.
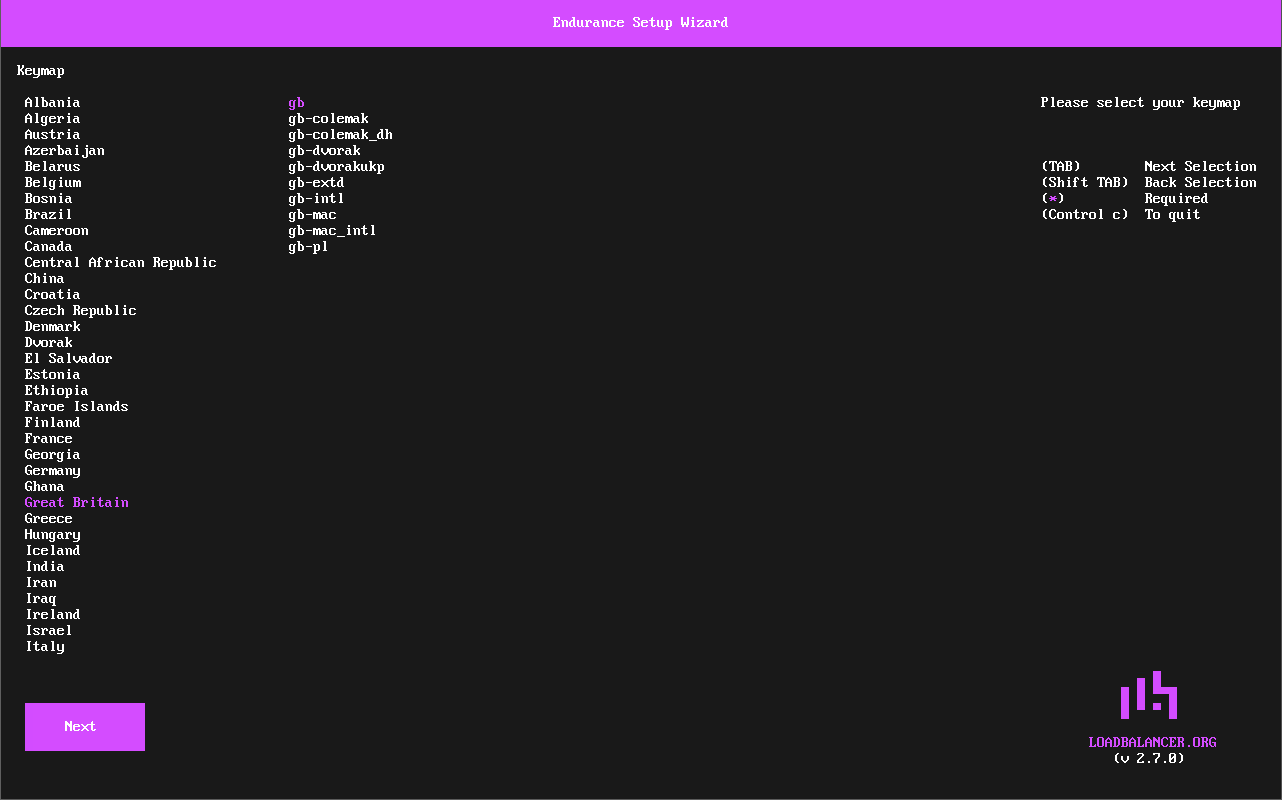
The Next button will be selected, hit Enter to continue.
In the Client Credentials screen, enter your Email and Password. These will be used to login to the appliance’s WebUI. Hit Enter to continue.
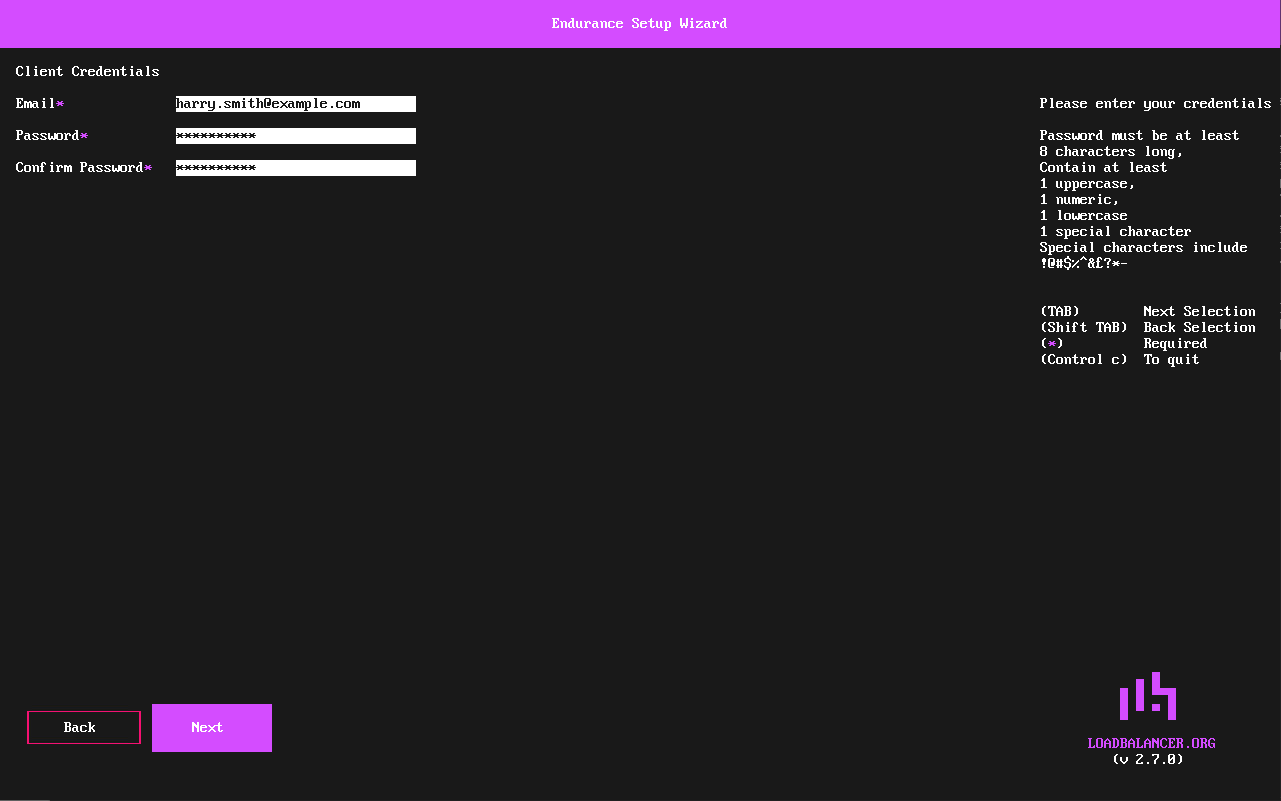
The Next button will be selected, hit Enter to continue.
In the Timezone screen, select the required timezone settings, and hit Enter to continue.
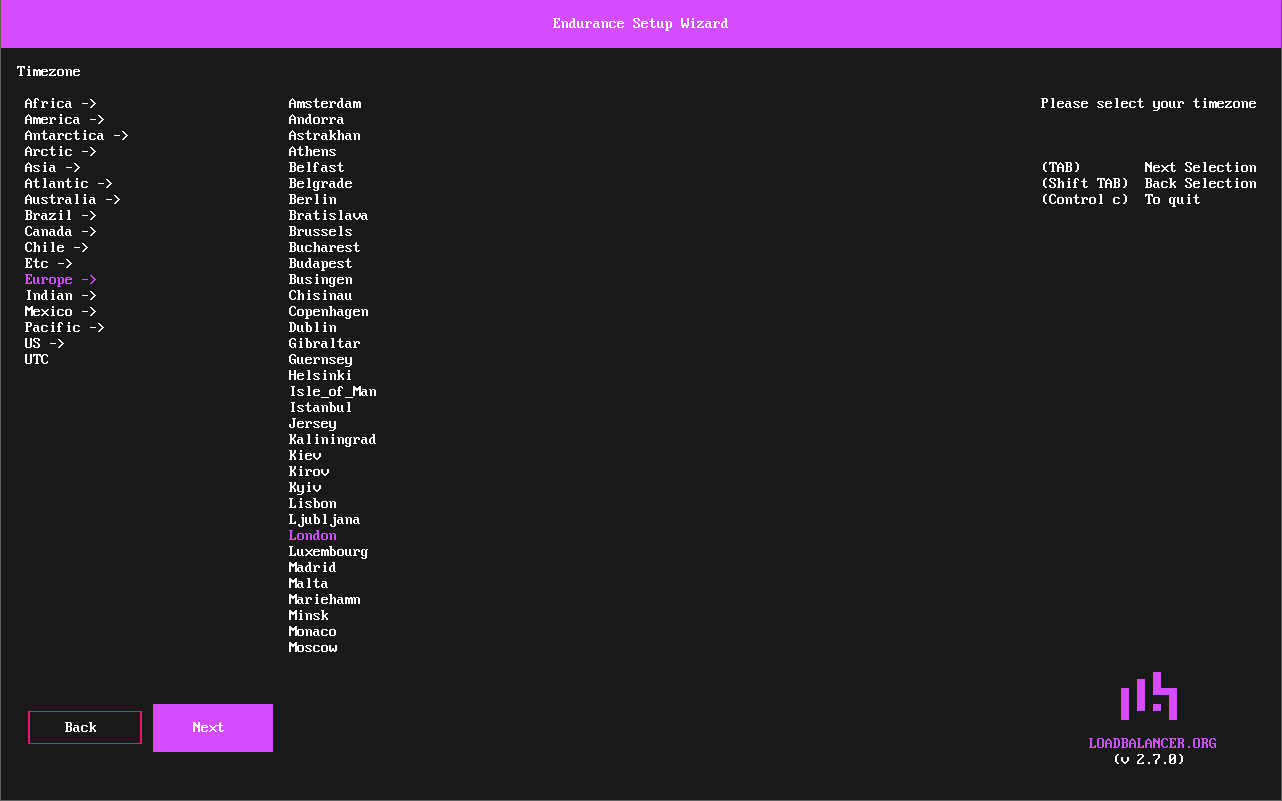
The Next button will be selected, hit Enter to continue.
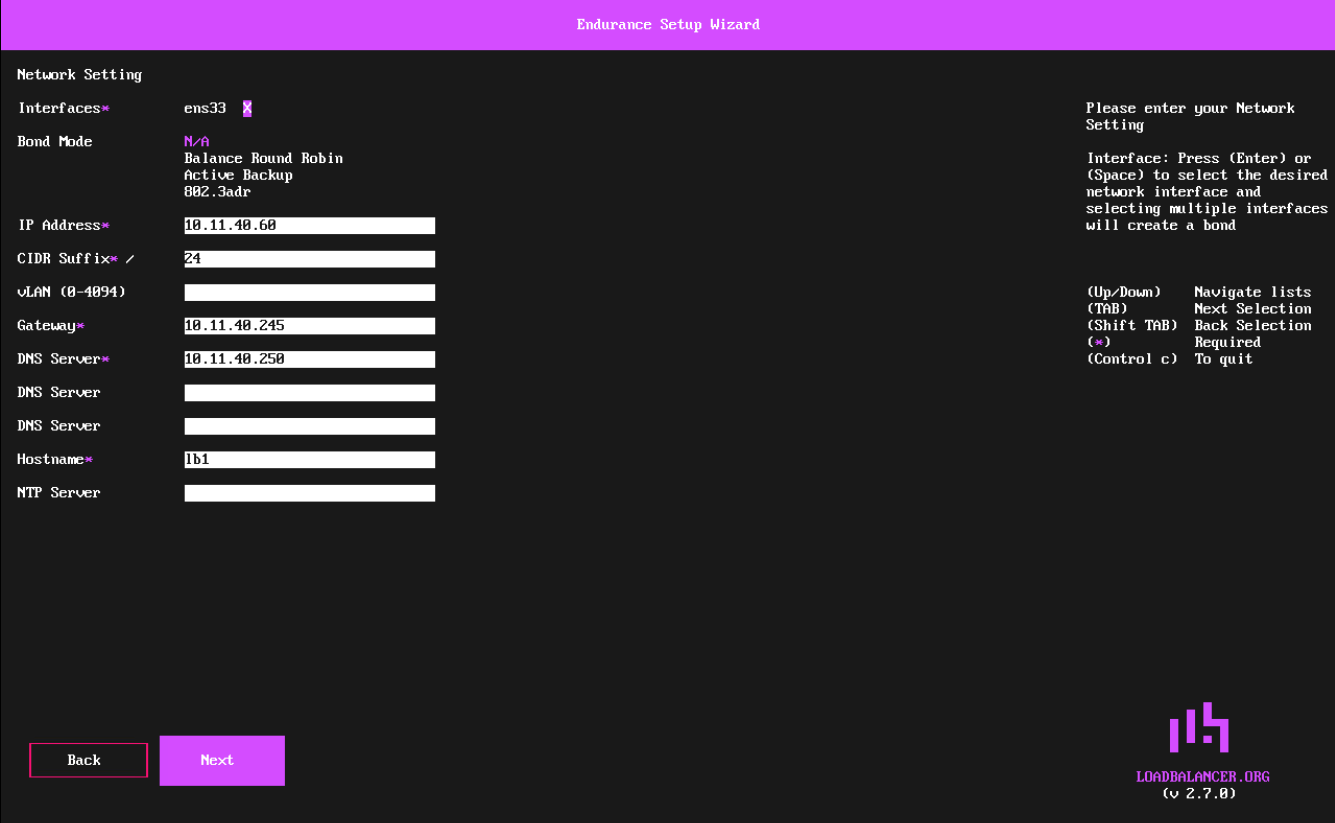
The Network Setting screen will be displayed.
| This screen is used to configure the management interface. Additional interfaces must be configured using the WebUI. |
-
Using the Spacebar, ensure that the Interface is selected.
-
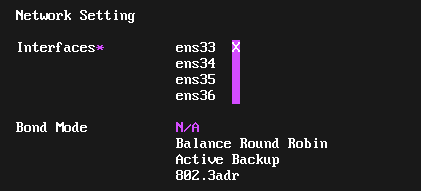
If additional adapters were added to the VA, additional interfaces will be displayed as shown below:
-
Select the required Interface(s). Multiple interfaces can be selected and bonded - in this case, select the required Bond Mode - the following options are available:
-
Balance Round Robin - This mode distributes network traffic across multiple network interfaces in a sequential, cyclic manner.
-
Active Backup - This mode places one of the adapters in a backup state and will only become active if the link is lost to the active adapter. This mode provides fault tolerance.
-
802.3ad - Dynamic link aggregation mode. This mode requires a switch that supports IEEE 802.3ad.
-
-
-
Set the required IP Address and CIDR Suffix.
A subnet mask such as 255.255.255.0 is not valid, in this case set the CIDR Suffix to 24. -
If required, set a VLAN ID.
-
Configure an appropriate Default Gateway, DNS Server and Hostname.
-
Hit Enter to continue.
The Next button will be selected, hit Enter to continue.
In the Summary screen, check all settings. If you need to change anything, use the Back button. If everything is correct, ensure that Confirm selected and hit Enter to continue.
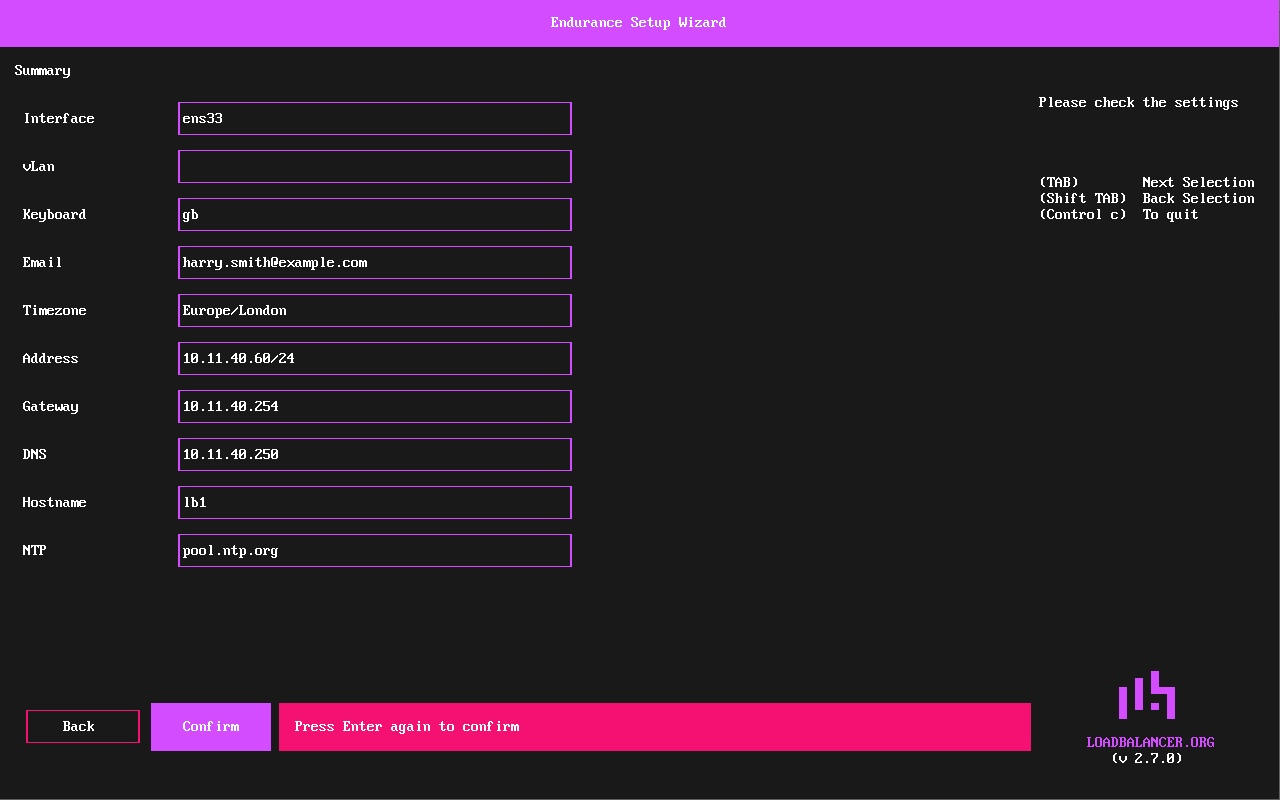
Hit Enter again to confirm. All settings will be applied.
Once the configuration has been written, the Setup Complete screen will be displayed.
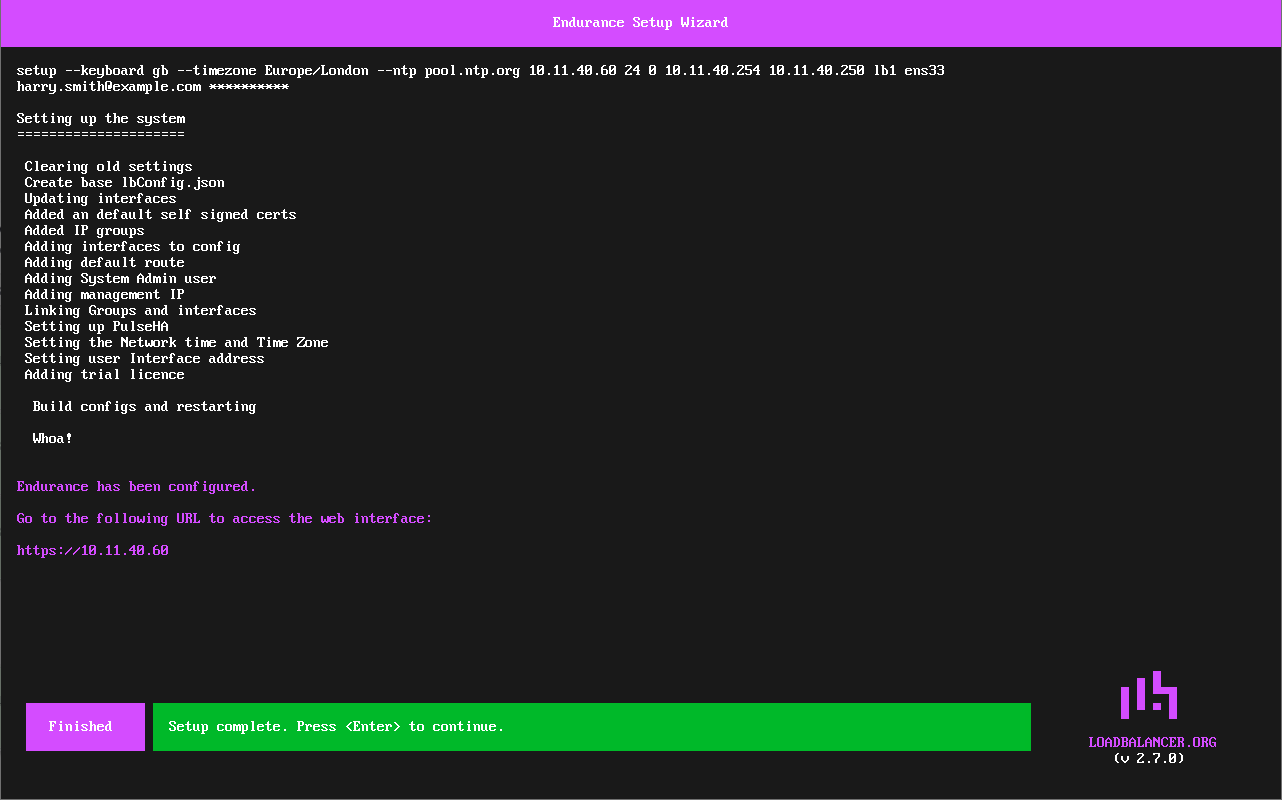
Hit Enter to exit the wizard and return to the command prompt.
Using a Browser
To start the web based setup process, browse to the IP address mentioned on the startup screen.
| Using the web based setup is only possible if a DHCP server is available which can provide a temporary IP address. |
In the keyboard screen, select the required keyboard settings.
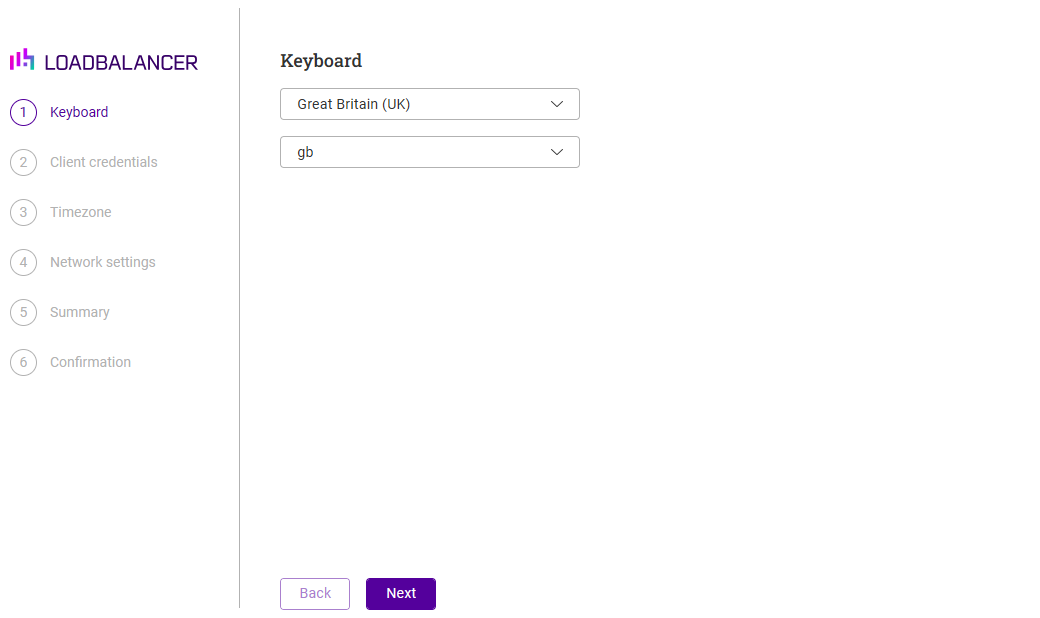
Click Next to continue.
In the Client Credentials screen, enter your Email and Password. These will be used to login to the appliance’s WebUI.
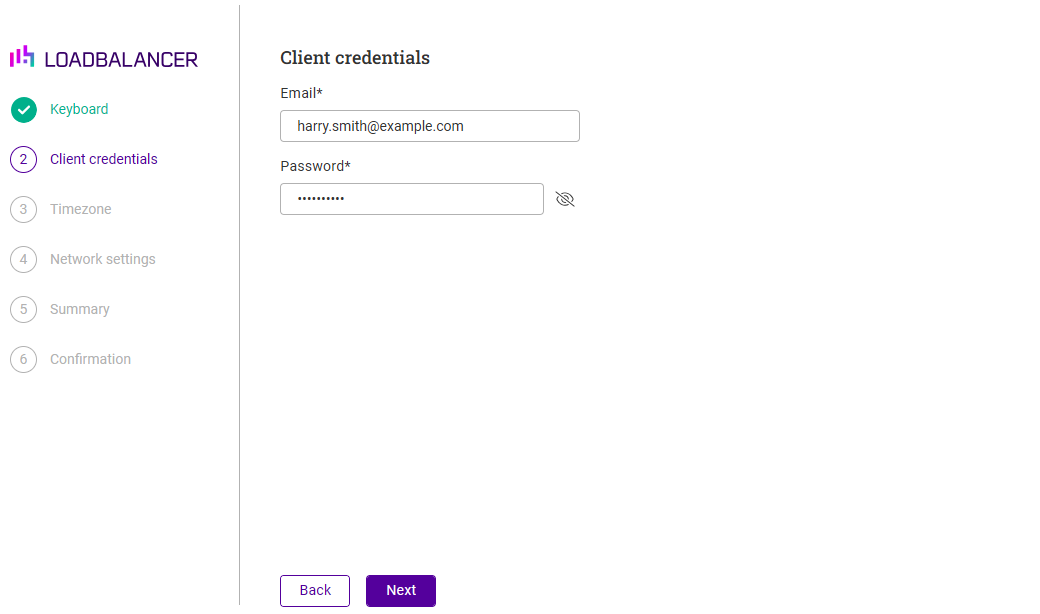
Click Next to continue.
In the Timezone screen, select the required timezone settings.
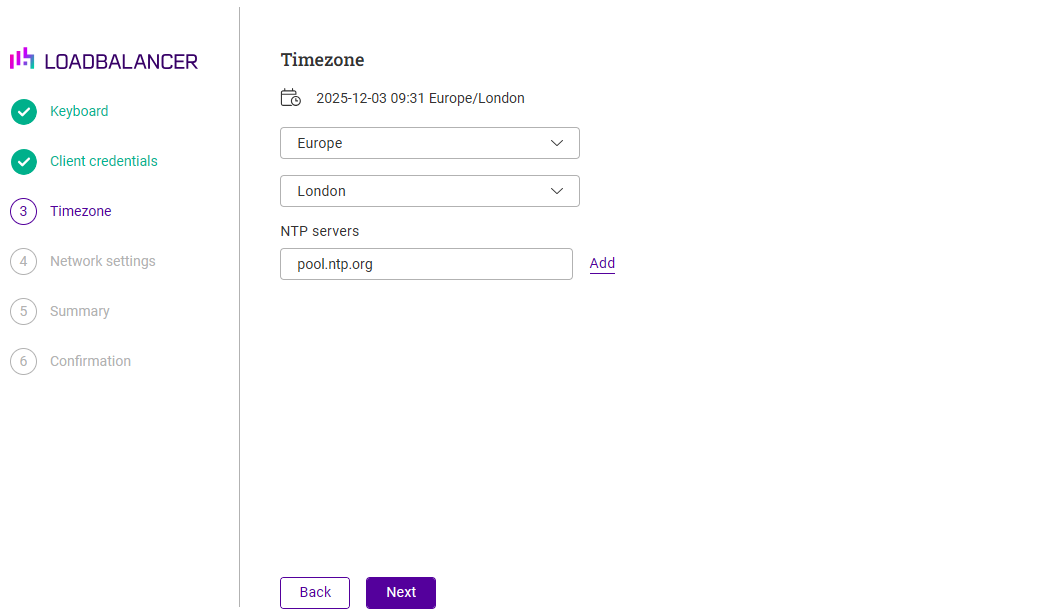
Click Next to continue.
In the Network Settings screen, configure the required network settings.
| This screen is used to configure the management interface. Additional interfaces must be configured using the WebUI. |
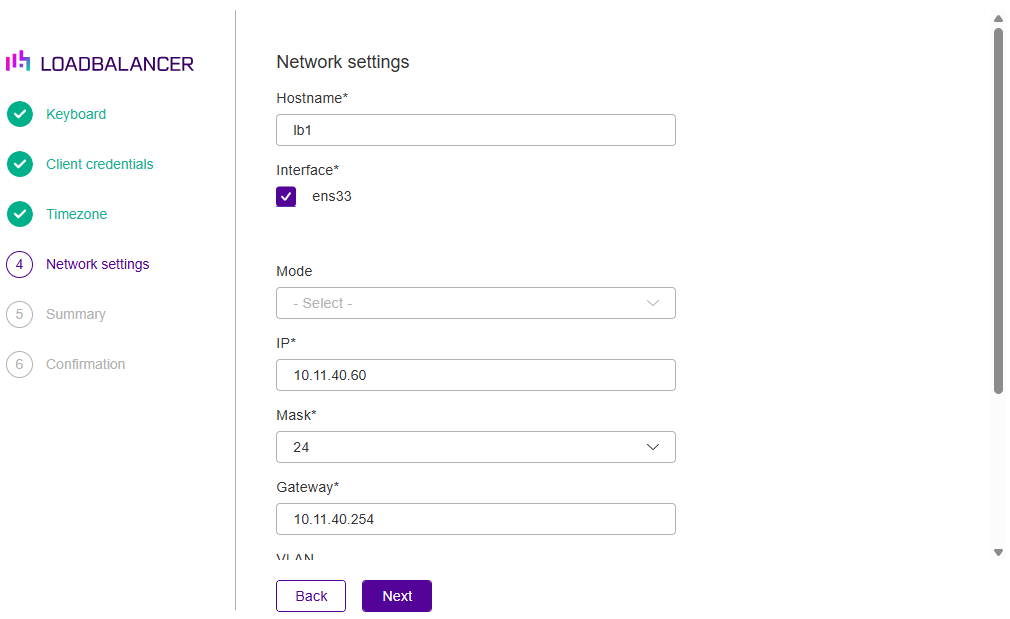
-
Specify an appropriate Hostname.
-
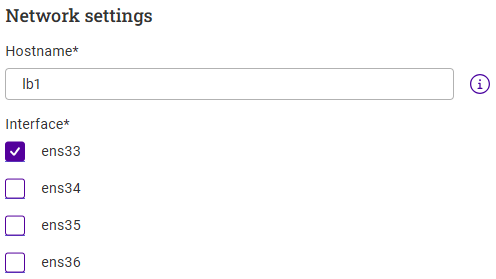
If additional adapters were added to the VA, additional interfaces will be displayed as shown below:
-
Select the required Interface(s). Multiple interfaces can be selected and bonded - in this case, select the required Bond Mode - the following options are available:
-
Balance Round Robin - This mode distributes network traffic across multiple network interfaces in a sequential, cyclic manner.
-
Active Backup - This mode places one of the adapters in a backup state and will only become active if the link is lost to the active adapter. This mode provides fault tolerance.
-
802.3ad - Dynamic link aggregation mode. This mode requires a switch that supports IEEE 802.3ad.
-
-
-
Set the required IP Address and select the required subnet Mask.
-
Configure an appropriate Default Gateway.
-
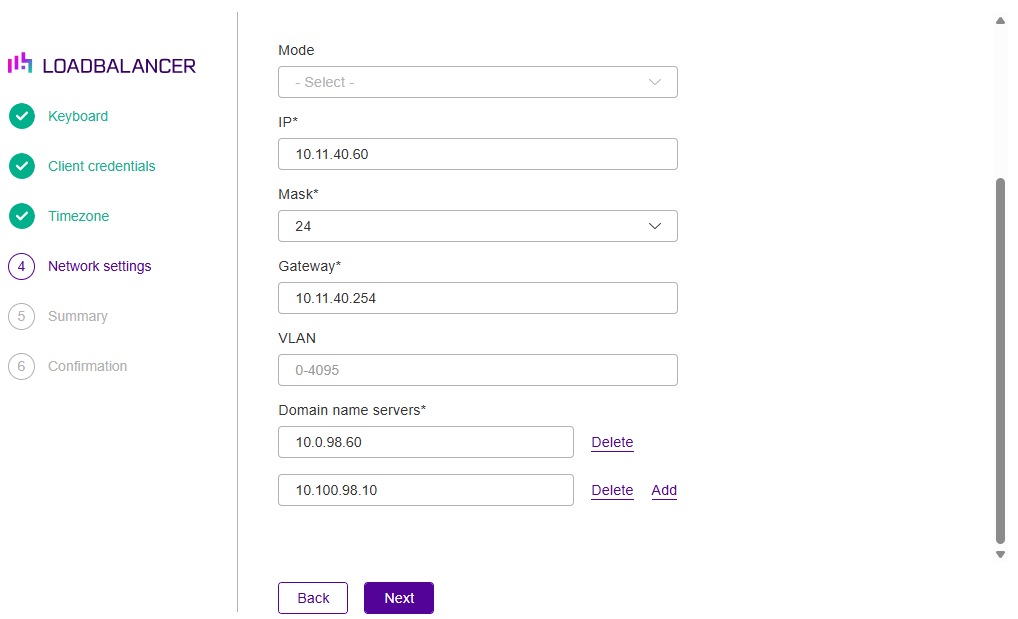
Scroll down to display the remaining fields.
-
If required, set a VLAN ID.
-
Configure the required Domain name servers.
Click Next to continue.
In the Summary screen, check all settings. If you need to change anything, use the Back button.
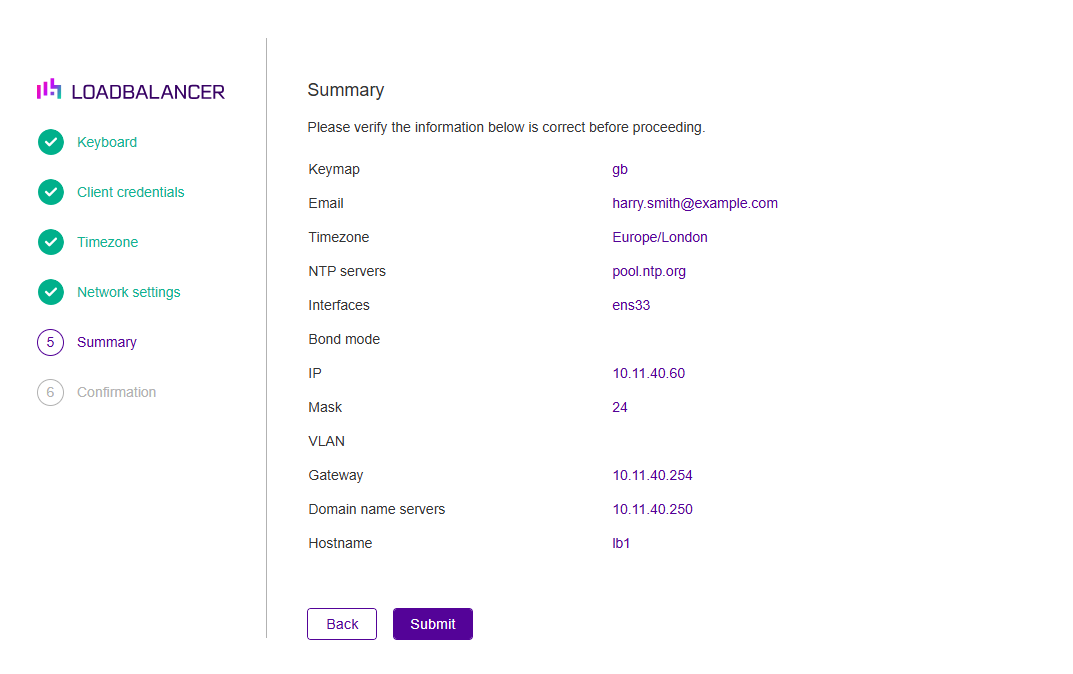
If everything is correct, click Submit.
Once the configuration has been written, the Confirmation screen will be displayed.
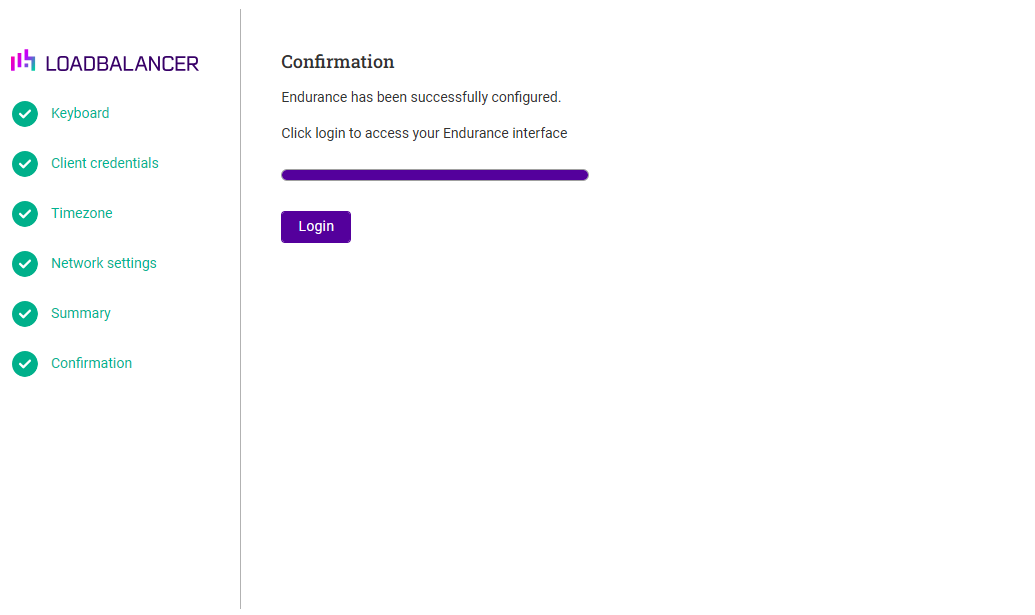
Click Login to open the WebUI login page for the appliance.