Local Configuration
Manage the appliance’s own settings — hostname, time, security, and system services.
System date & time
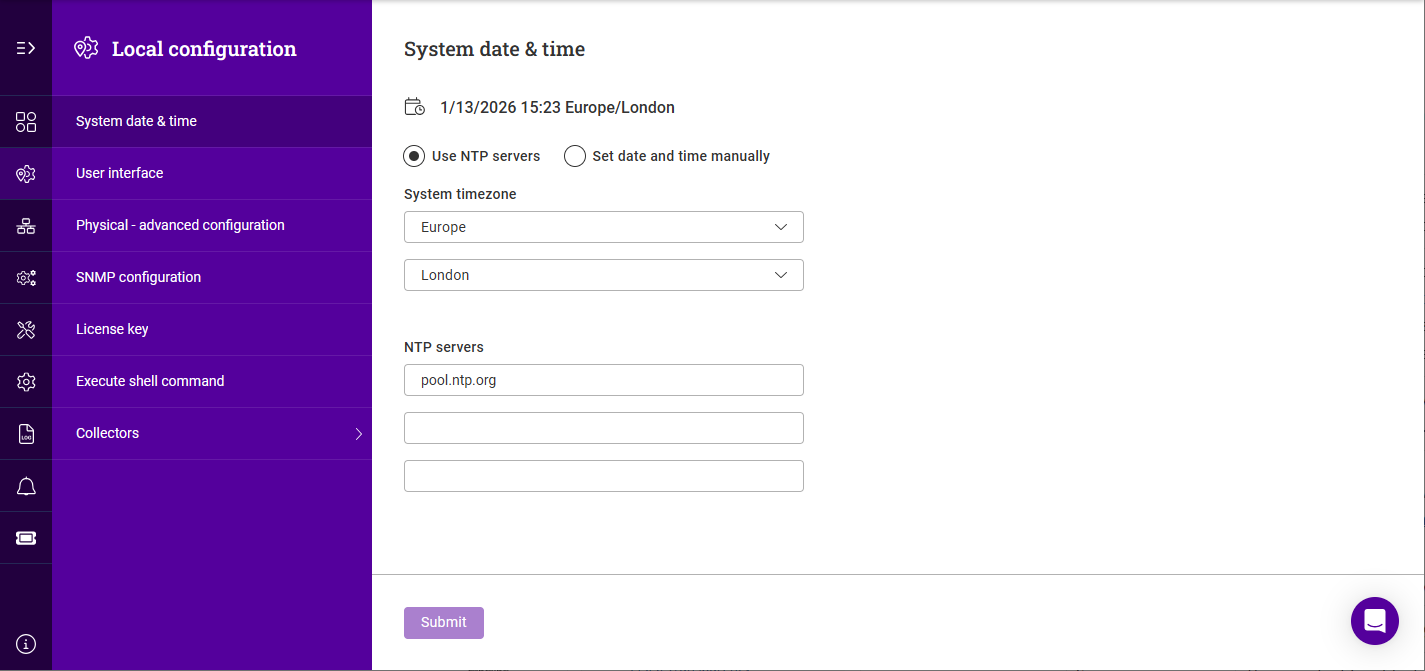
The system date and time can be configured automatically using NTP or set manually.
To configure NTP:
-
Using the WebUI, navigate to Local Configuration > System date & time.
-
Select Use NTP servers.
-
Select the required System timezone settings.
-
Specify the NTP servers. Both IP addresses and FQDNs can be used.
-
Click Submit.
To manually specify the date and time:
-
Select Set date and time manually.
-
Select the required System timezone settings.
-
Configure the Date and Time.
-
Click Submit.
User interface
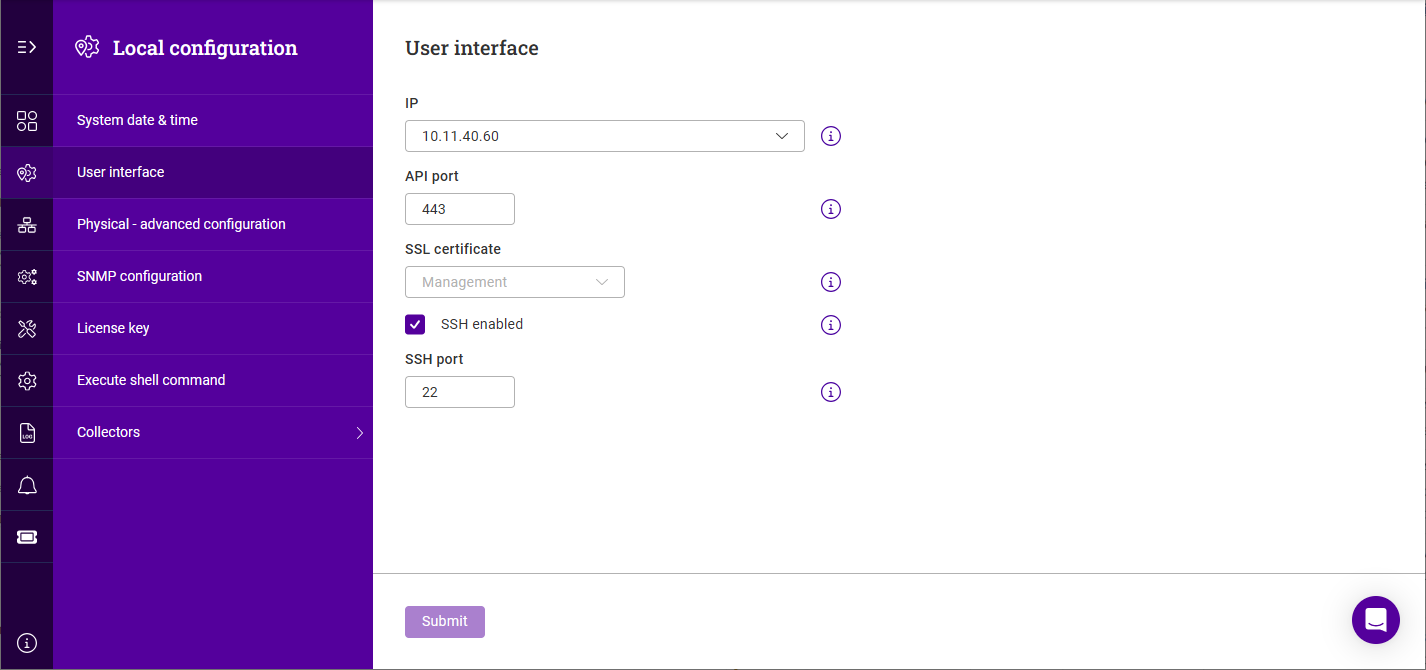
To configure user interface settings:
-
Using the WebUI, navigate to Local Configuration > User Interface.
-
Select the required IP address. The drop-down is populated with static IPs.
-
Set the required API port.
-
Select the required SSL Certificate.
-
If SSH access is required, check the SSH enabled checkbox and specify the SSH port.
-
Click Submit.
Physical - advanced configuration
Hostname & domain
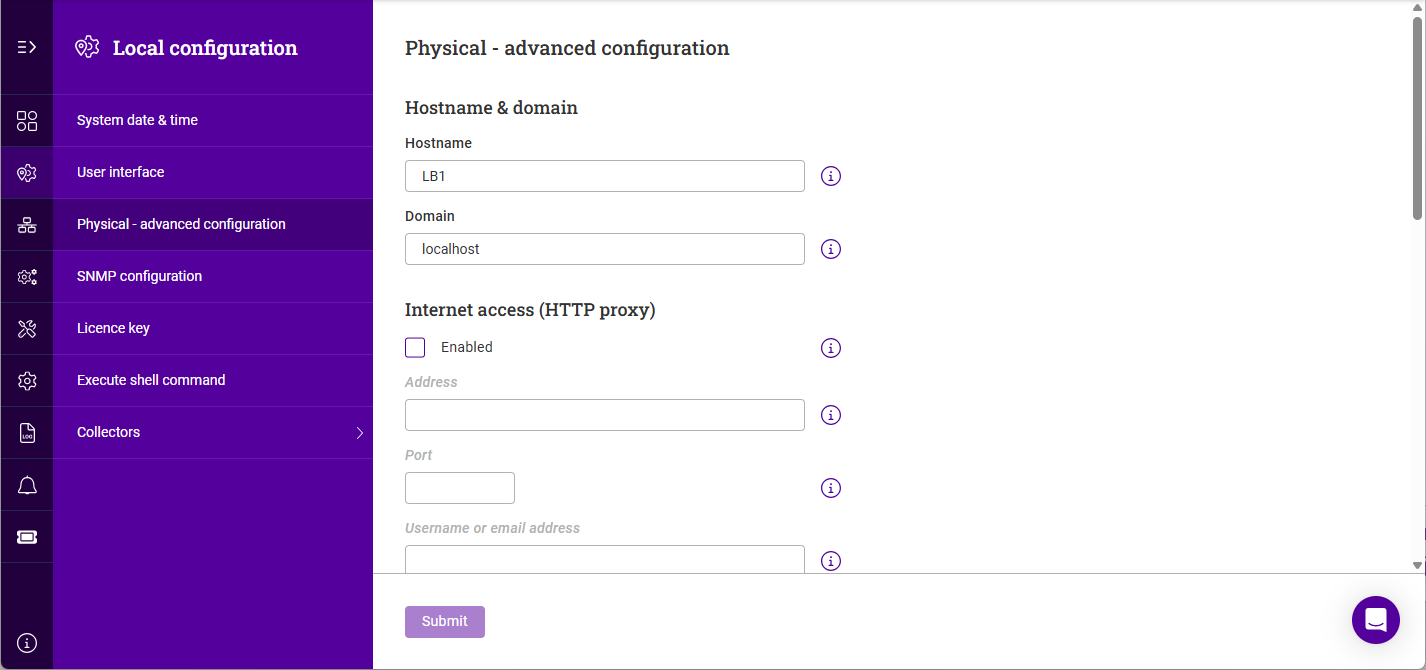
To configure the hostname and domain:
-
Using the WebUI, navigate to Local Configuration > Physical - advanced configuration.
-
Specify the Hostname and Domain.
-
Click Submit.
Internet access (HTTP proxy)
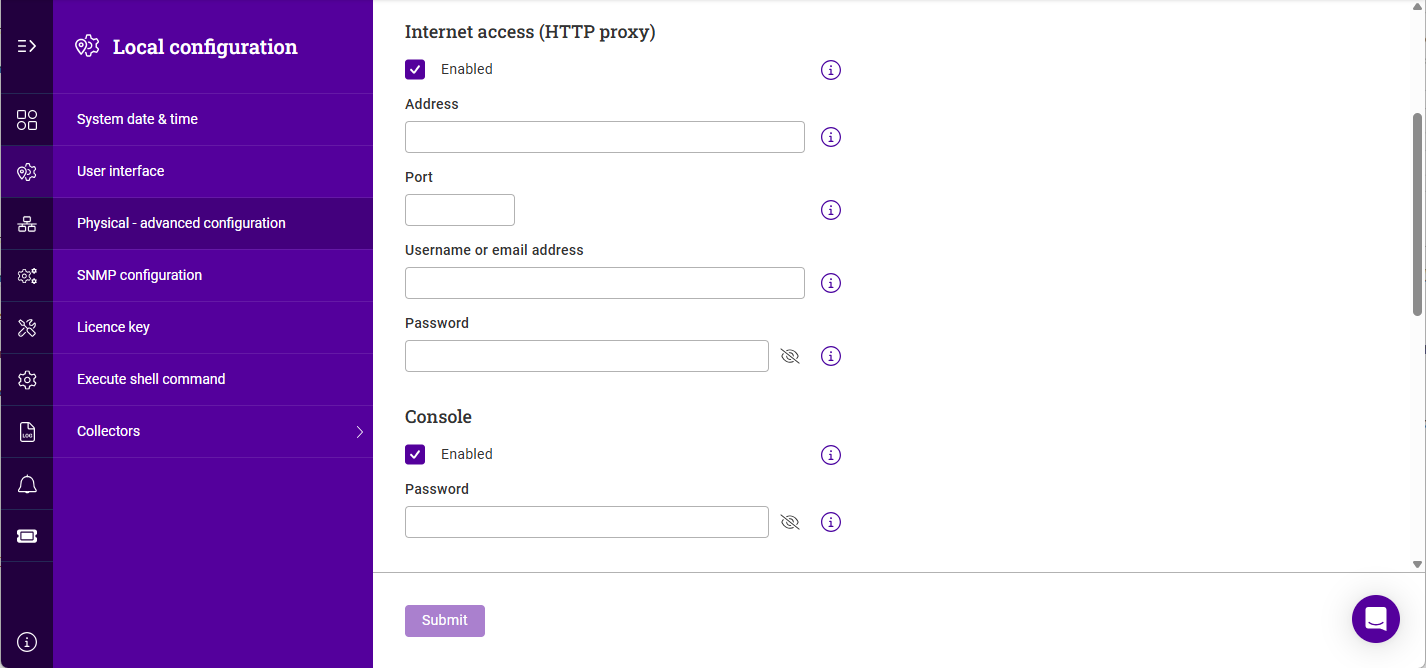
To configure a proxy server to use for Internet access:
-
Using the WebUI, navigate to Local Configuration > Physical - advanced configuration.
-
Scroll to the Internet access (HTTP proxy) section.
-
Enable (check) the Enabled checkbox.
-
Specify the Address of the proxy server. An IP address or FQDN can be used.
-
Specify the Port of the proxy server.
-
If authentication is used, specify the Username or email address and the Password.
-
Click Submit.
Console
To enable console & SSH access:
-
Using the WebUI, navigate to Local Configuration > Physical - advanced configuration.
-
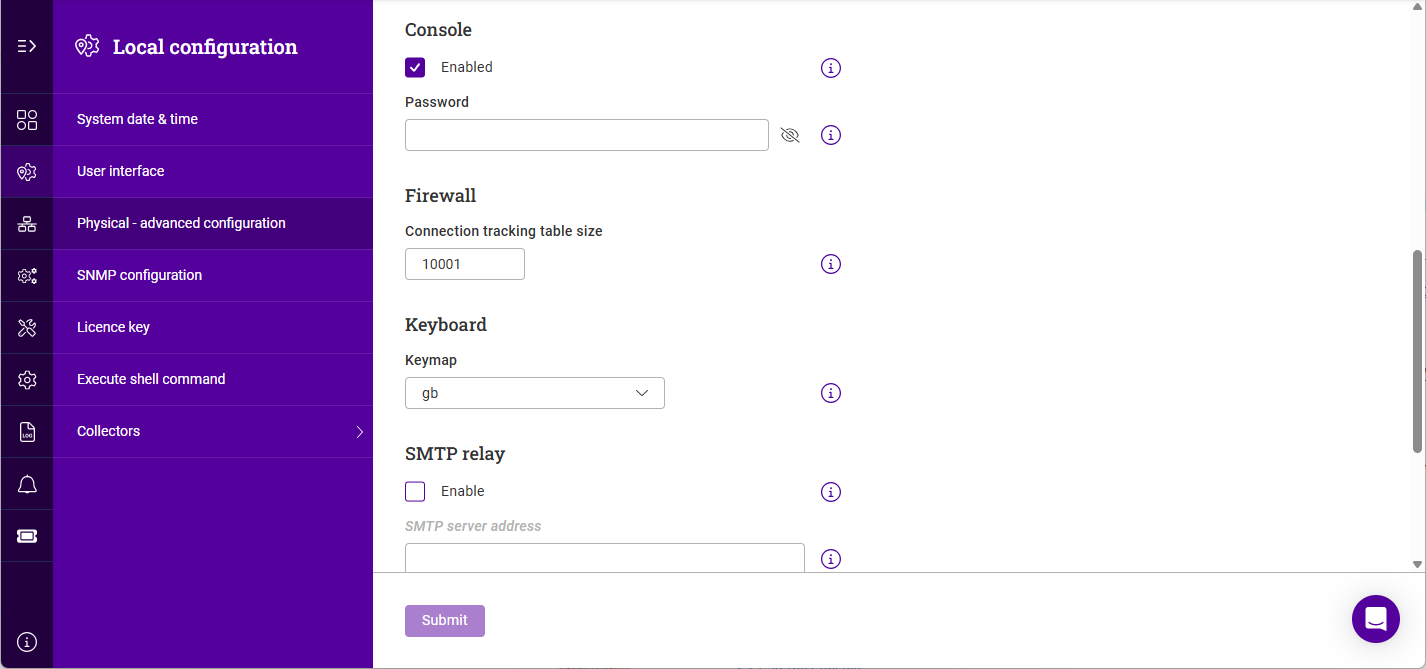
Scroll to the Console section.
-
Enable (check) the Enabled checkbox.
-
Specify a Password for the "loadbalancer" user.
-
Click Submit.
Firewall
To set the firewall connection tracking table size:
-
Using the WebUI, navigate to Local Configuration > Physical - advanced configuration.
-
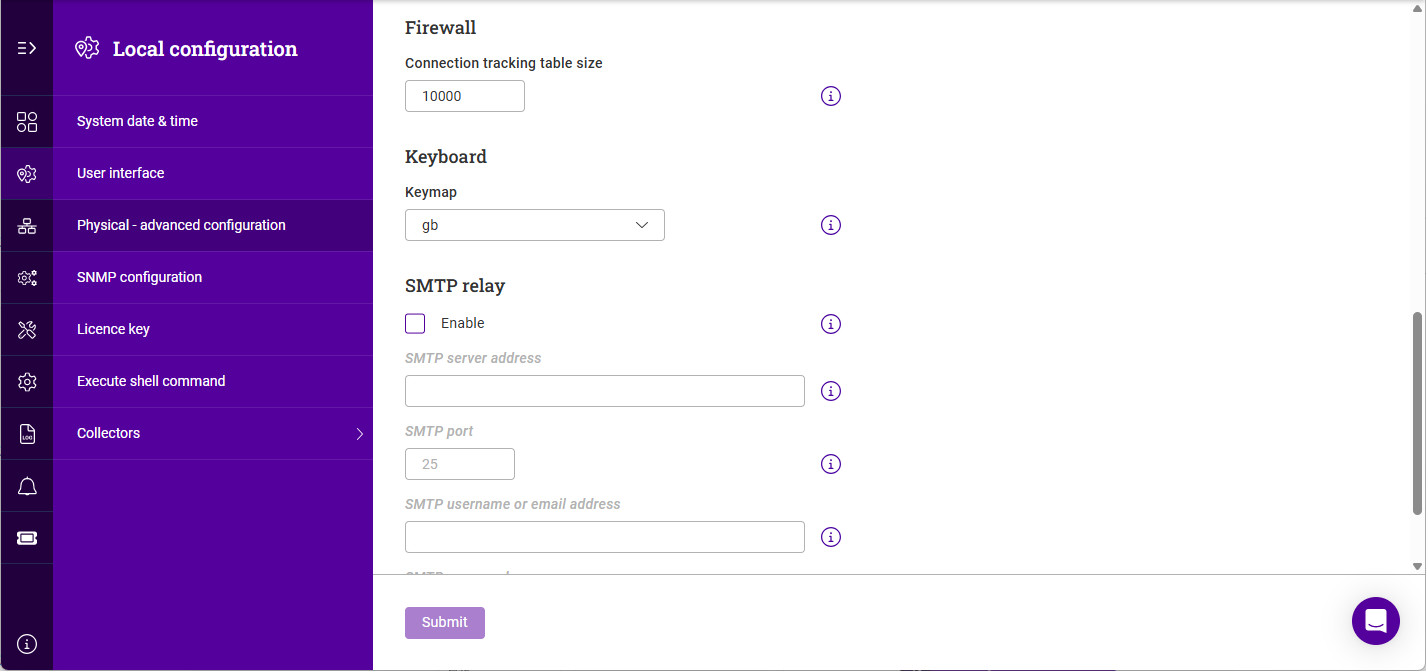
Scroll to the Firewall section.
-
Specify the Connection tracking table size.
-
Click Submit.
Keyboard
-
Using the WebUI, navigate to Local Configuration > Physical - advanced configuration.
-
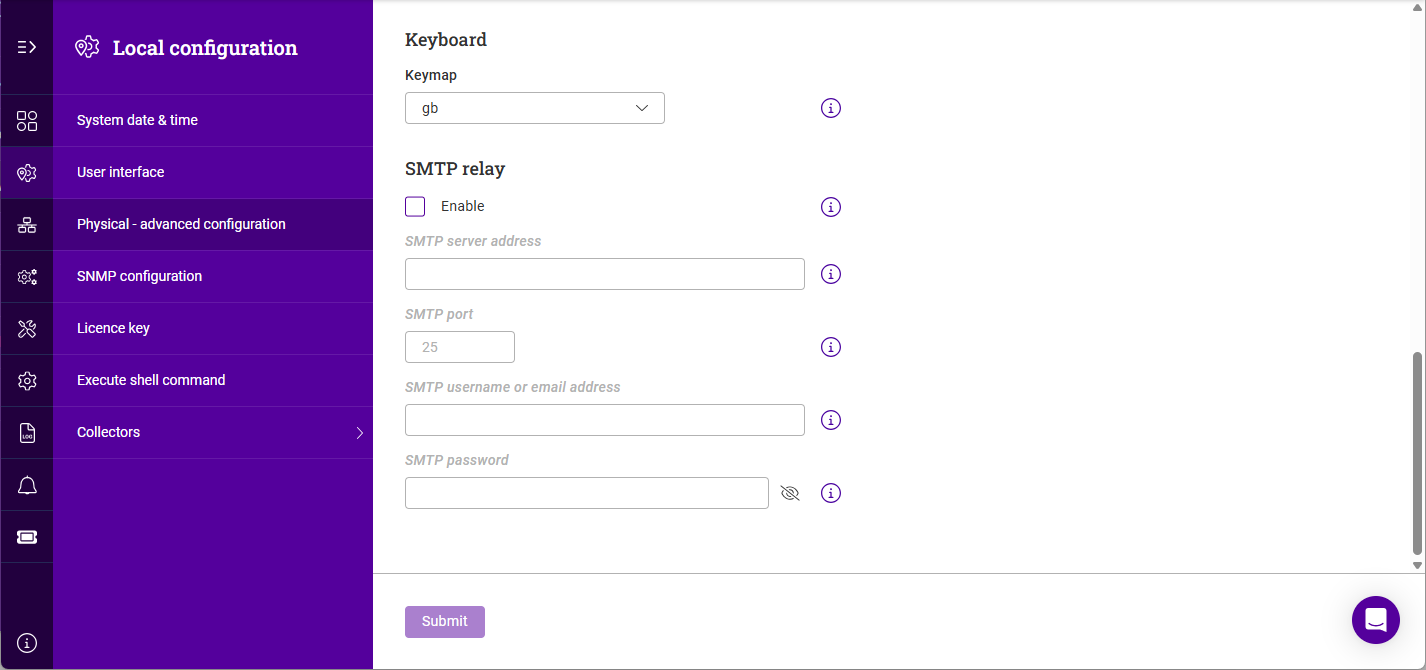
Scroll to the Keyboard section.
-
Select the required Keymap.
-
Click Submit.
SMTP relay
To configure an SMTP relay server:
-
Using the WebUI, navigate to Local Configuration > Physical - advanced configuration.
-
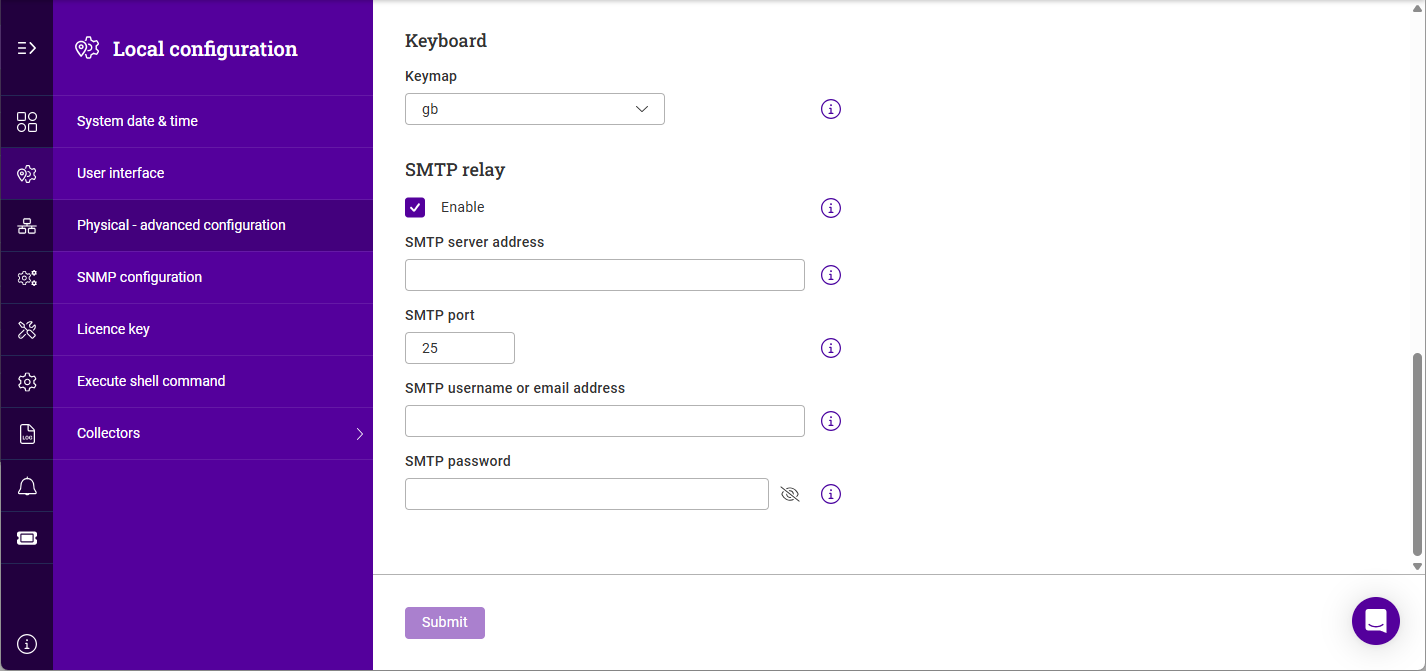
Scroll to the SMTP Relay section.
-
Enable (check) the Enable checkbox.
-
Specify the SMTP server address of the relay server. An IP address or FQDN can be used.
-
Specify the SMTP port of the relay server.
-
If authentication is used, specify the SMTP username or email address and the SMTP Password.
-
Click Submit.
SNMP Configuration
| A [Service IP] must be available first before configuring SNMP. |
-
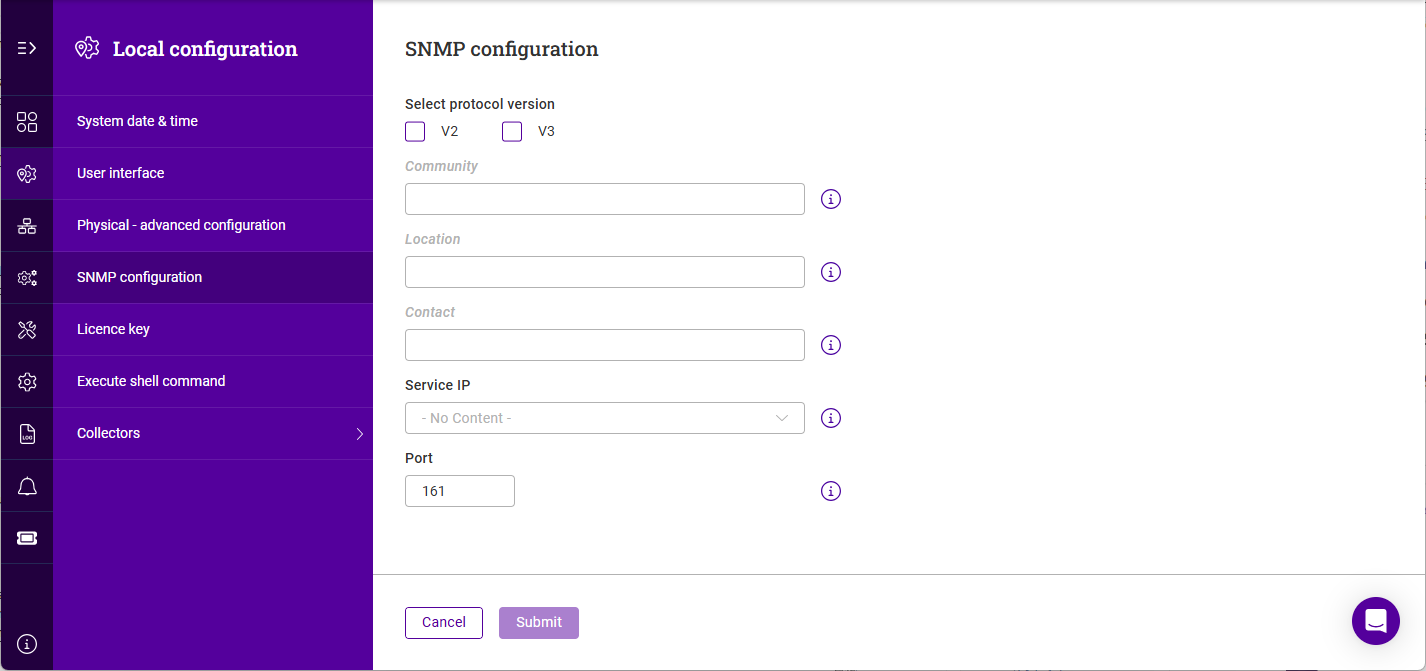
Using the WebUI, navigate to Local Configuration > SNMP configuration.
-
Click Add SNMP settings.
-
Select the relevant SNMP version number(s).
-
Specify the Community string (SNMP V2 only), Location and Contact.
-
Select the Service IP from the dropdown and specify the required Port.
-
Click Submit.
Installing the License Key
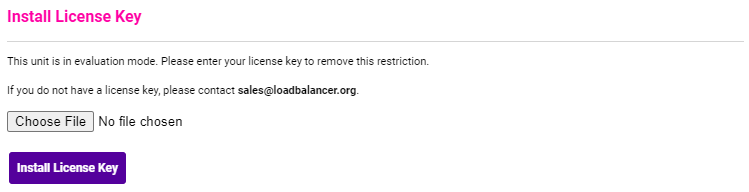
The appliance can be used completely unrestricted for 30 days without installing a license key. After 30 days, the appliance continues to work but it’s no longer possible to make configuration changes.
| if you’re conducting a PoC (Proof of Concept) using the VA and require more time to complete your evaluation, please contact sales@loadbalancer.org who will be able to provide guidance on how to extend the trial. |
For an unlicensed VA, the following message is displayed:

For an unlicensed hardware appliance, the following message is displayed:

To apply the license key:
-
Using the WebUI, navigate to: Local Configuration > License Key.
-
Enter the licence key as shown above.
-
Click Submit.
Format is : @license key@
| Once the license is applied, these warning messages will no longer be displayed. |
Execute shell command
-
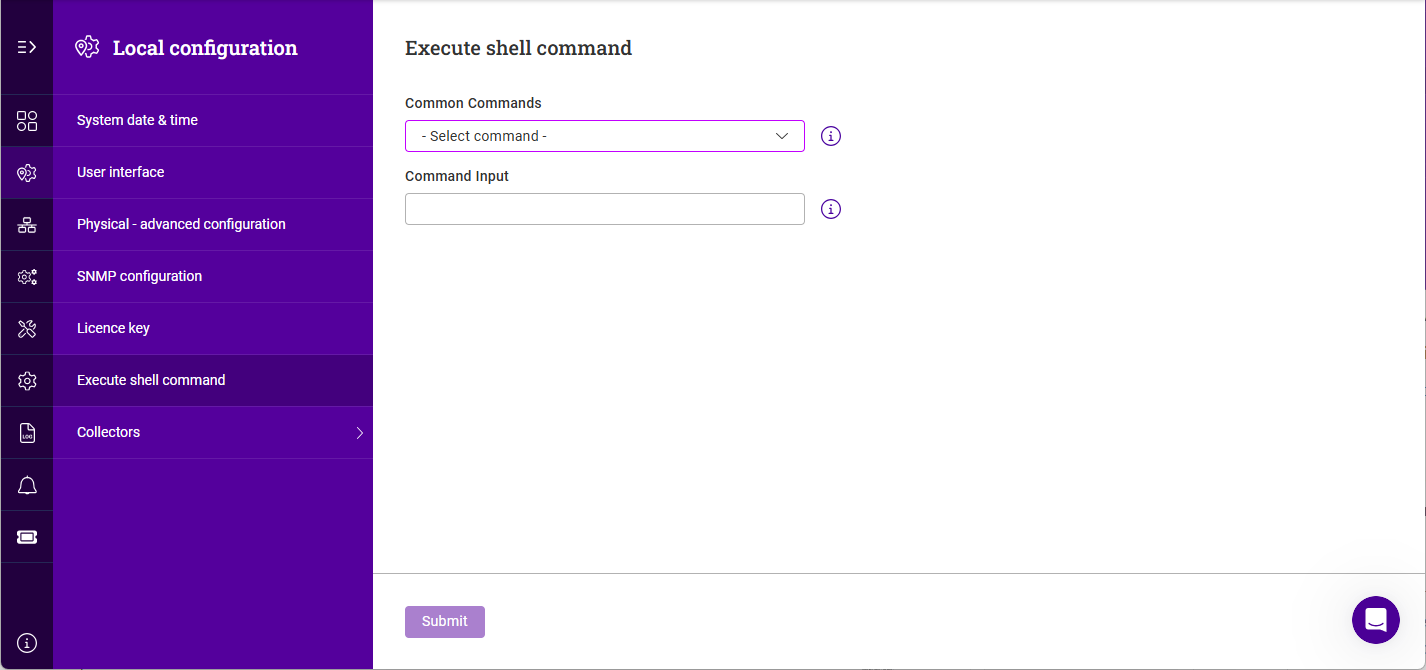
Using the WebUI, navigate to Local Configuration > Execute shell command.
-
Either select a command from the Common commands dropdown or enter your own using the Command input field.
-
Click Submit to run the command. Command output will be displayed in the area below the Command input field.
Collectors
Prometheus
The Prometheus collector can provide both Layer 7 (HAProxy) and local node metrics.
To enable the Prometheus Collector:
| A [Service IP] must be available first before configuring Prometheus. |
-
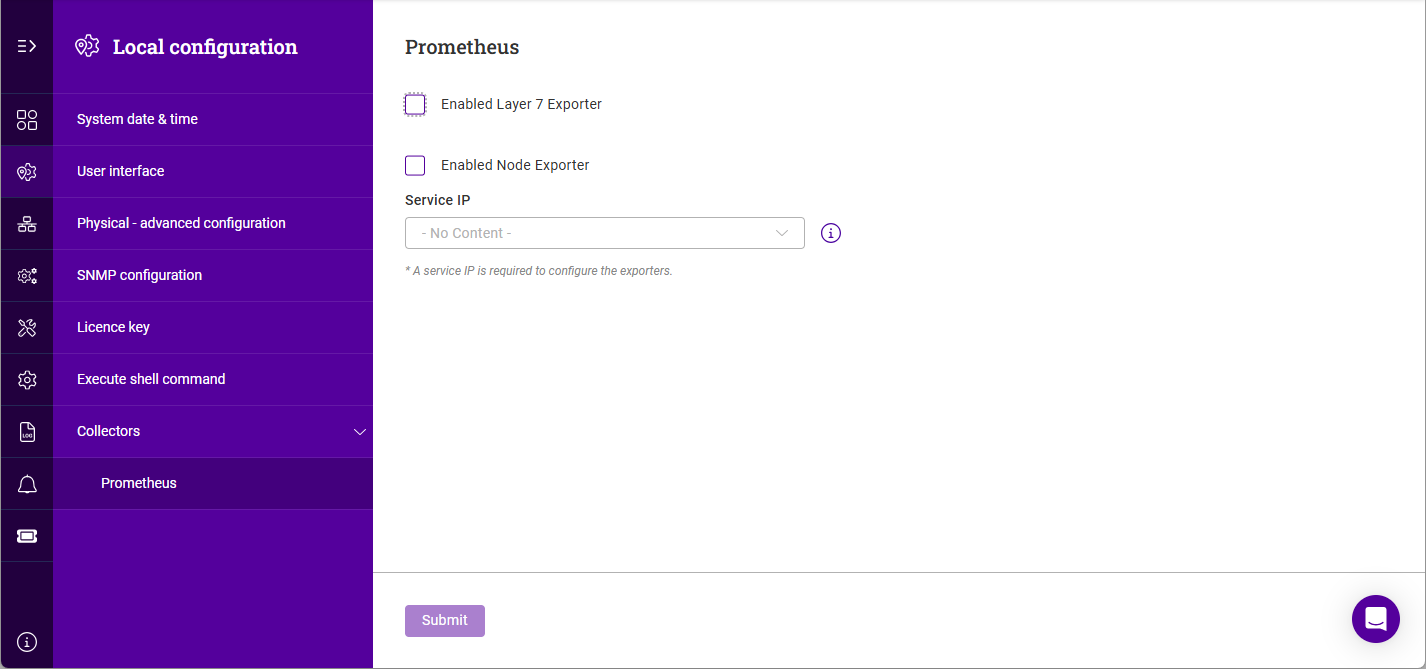
Using the WebUI, navigate to Local Configuration > Collectors > Prometheus.
-
Enable (check) the Enabled layer 7 exporter checkbox to provide Layer 7 metrics.
-
Update the Exporter port if required.
-
Enable (check) the Enabled node exporter checkbox to provide local node metrics.
-
Update the Exporter port if required.
-
Select the required Service IP.
-
Click Submit.
Conditional Preprocessor Directives
This component contains conditional content based on attributes that are declared in other .adoc files. 'ifdef' and/or 'ifndef' directives are used to customise which content is selected.
customise text according to context, i.e. if from the Enterprise manual , refer to the Enterprise product etc. options are, ENTERPRISE & ENDURANCE. If neither are specified, Portal is assumed.