Maintenance
This section covers the maintenance and administration functionality provided by the appliance, including backups, system services, software updates, fallback pages, user management, and locking the appliance.
Backups
The current appliance configuration can be downloaded as a backup archive at any time. In addition, an automatic backup entry is recorded each time the configuration is changed, providing a history of all additions, modifications and deletions.
To download a backup of the current configuration:
-
Using the WebUI, navigate to Maintenance > Backups.
-
Click Download backup.
-
A backup archive containing the current configuration is generated and downloaded to your browser’s default download location.
Auto backup
Each time the configuration is changed, an entry is automatically added to the Auto backup list. Every entry shows a Description of the change, the type of Change (Added, Updated or Deleted), and the Date & time it occurred.
Use the Search box to filter the list, or click Download CSV to export the entries.
System services
The key services running on the appliance are listed here, and can be manually reloaded or restarted. This is normally only required when a new configuration is added or an existing configuration is modified.
Each service is listed along with its current State (Active or Inactive). Where a configuration change is pending for a service, an Update action is also shown in the Action column.
To reload or restart a service:
-
Using the WebUI, navigate to Maintenance > System services.
-
Click the three dots menu next to the service.
-
Select the required action. Depending on the service, one or more of Update, Reload and Restart will be available.
The Restart load balancer button (top right) restarts the load balancing services; the adjacent drop-down also provides a Shutdown load balancer option. When the appliance is part of a cluster, select the Propagate across cluster checkbox before performing an action to apply it to all appliances in the cluster.
Appliance Software Update
We recommend that the appliance is kept up to date to ensure that you benefit from the latest bug fixes, security updates and feature improvements. Both online and offline update are supported.
| Services may need to be restarted/reloaded after the update process completes or in some cases a full appliance restart may be required. |
Online Update
The appliance periodically contacts the Loadbalancer.org update server (update.loadbalancer.org) and checks for updates. If an update is found, a notification will be displayed on the main dashboard in the SYSTEM UPDATES widget as shown in the example below:
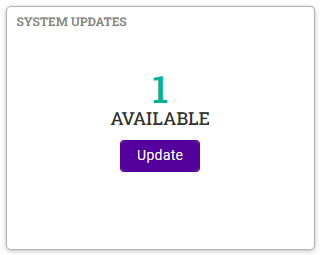
Click Update. Details of the update package(s) available will be displayed as shown in the example below:
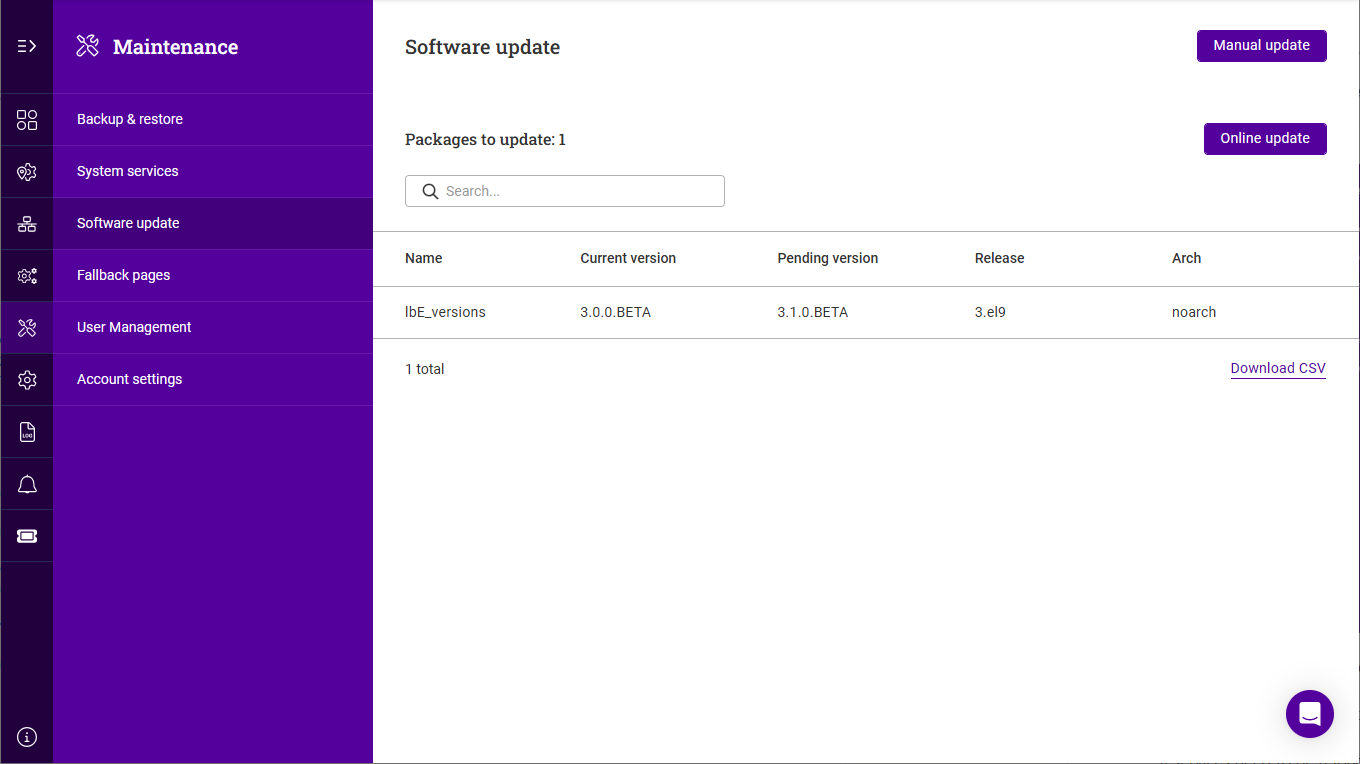
Click Online Update, then click Confirm in the popup to start the update process.
The update process can take several minutes depending on download speed and the number of updates.
If services need to be reloaded/restarted or the appliance needs a full restart, you’ll be prompted accordingly.
Offline Update
If the appliance does not have access to the Internet, offline update can be used. To check if updates are available, please contact our support team.
To perform an offline update:
-
Using the WebUI, navigate to: Maintenance > Software update.
-
Click Manual update.
-
Click Choose File, then browse to and select the update file.
-
If services need to be reloaded/restarted or the appliance needs a full restart, you’ll be prompted accordingly.
Fallback pages
A fallback page is displayed to clients when all of the Real Servers associated with a Virtual Service are unavailable (i.e. down or taken offline). Multiple fallback pages can be configured and each one can be associated with one or more Virtual Services.
A fallback page can either be served directly by the appliance (Internal) or be provided by a separate server (External).
To add a fallback page:
-
Using the WebUI, navigate to Maintenance > Fallback pages.
-
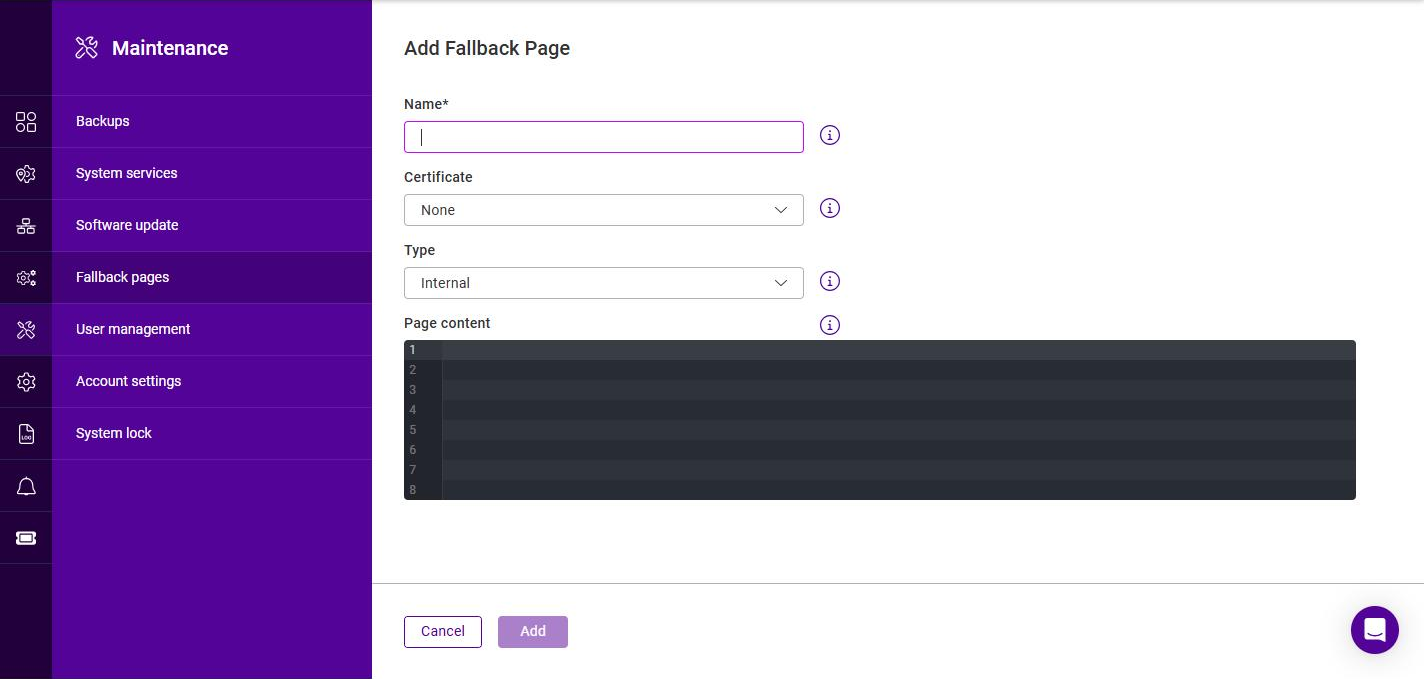
Click Add fallback page.
-
Enter an appropriate Name for the fallback page.
-
If the page should be served over HTTPS, select the relevant Certificate.
-
Select the Type:
-
If Internal is selected, enter the required content in the Page content editor.
-
If External is selected, specify the IP address and Port of the external fallback server.
-
-
Click Add.
To modify or delete a fallback page:
-
Using the WebUI, navigate to Maintenance > Fallback pages.
-
Click the three dots menu next to the relevant fallback page.
-
Click Edit to change its settings (update the relevant setting(s), then click Update), or click Delete then Confirm to remove it.
User management
User accounts, together with the roles and groups that control their permissions, are managed from Maintenance > User management. The page provides three tabs: Users, Roles and Groups.
When first deployed, the appliance includes a single system administrator account. This account is created when the setup wizard is run and is assigned the default System Admin role.
Adding a user
Additional user accounts can be added as required. The permissions available to each user are determined by the role(s) and/or group(s) assigned to them, either directly or via group membership.
To add a user:
-
Using the WebUI, navigate to Maintenance > User management and select the Users tab.
-
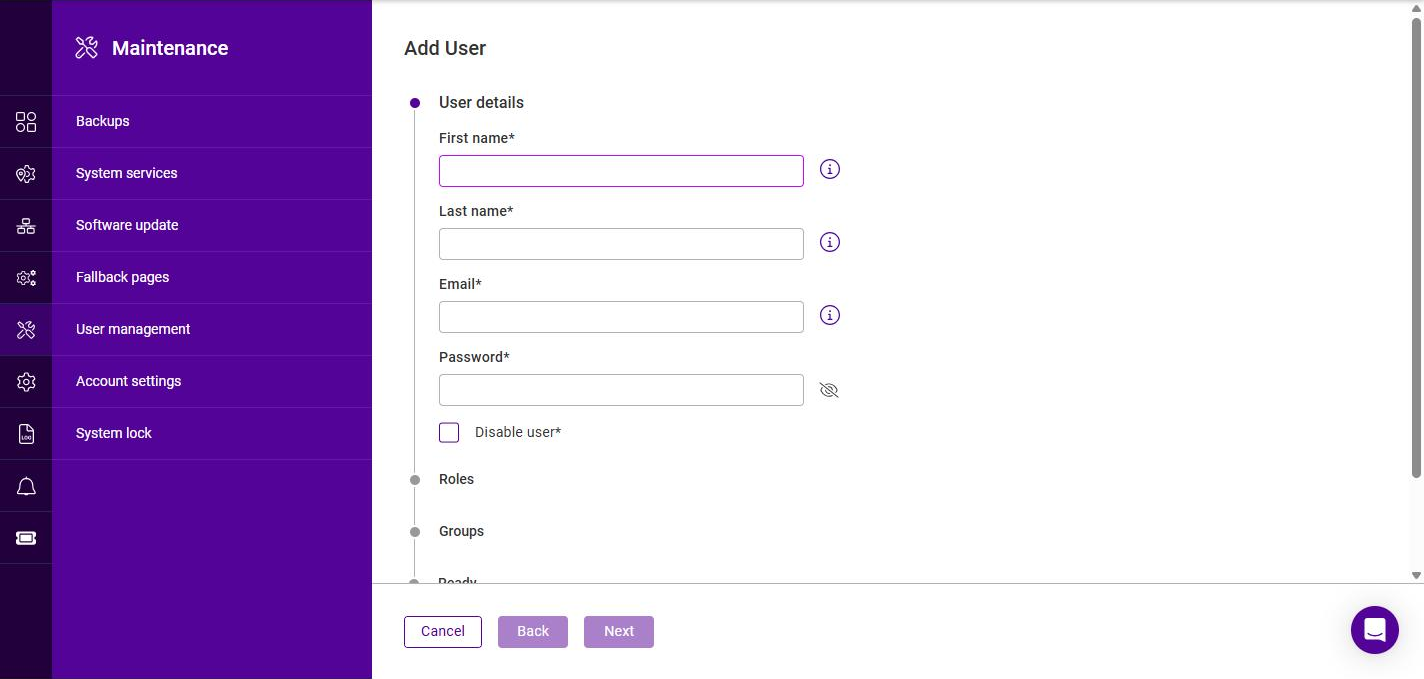
Click the Add user button.
-
Under User details, specify the First name, Last name, Email and Password for the new user. To create the account in a disabled state, select Disable user. Click Next.
-
Under Roles, select the role(s) to assign to the user, then click Next.
At least one role or group must be assigned to the user. -
Under Groups, select the group(s) the user should be a member of (if required), then click Next.
-
Under Ready, review the summary and click Submit.
| For more information on roles and groups, see Roles & groups below. |
Roles & groups
Access to the appliance is controlled using role-based access control (RBAC). Permissions are defined in roles, which are assigned to users either directly or via groups. Roles and groups are managed from the Roles and Groups tabs on the Maintenance > User management page.
Roles
A role defines a set of permissions. The appliance includes one default role, System Admin, which grants full access to all data and settings. Additional custom roles can be created to provide more granular access.
To create a new role:
-
Using the WebUI, navigate to Maintenance > User management and select the Roles tab.
-
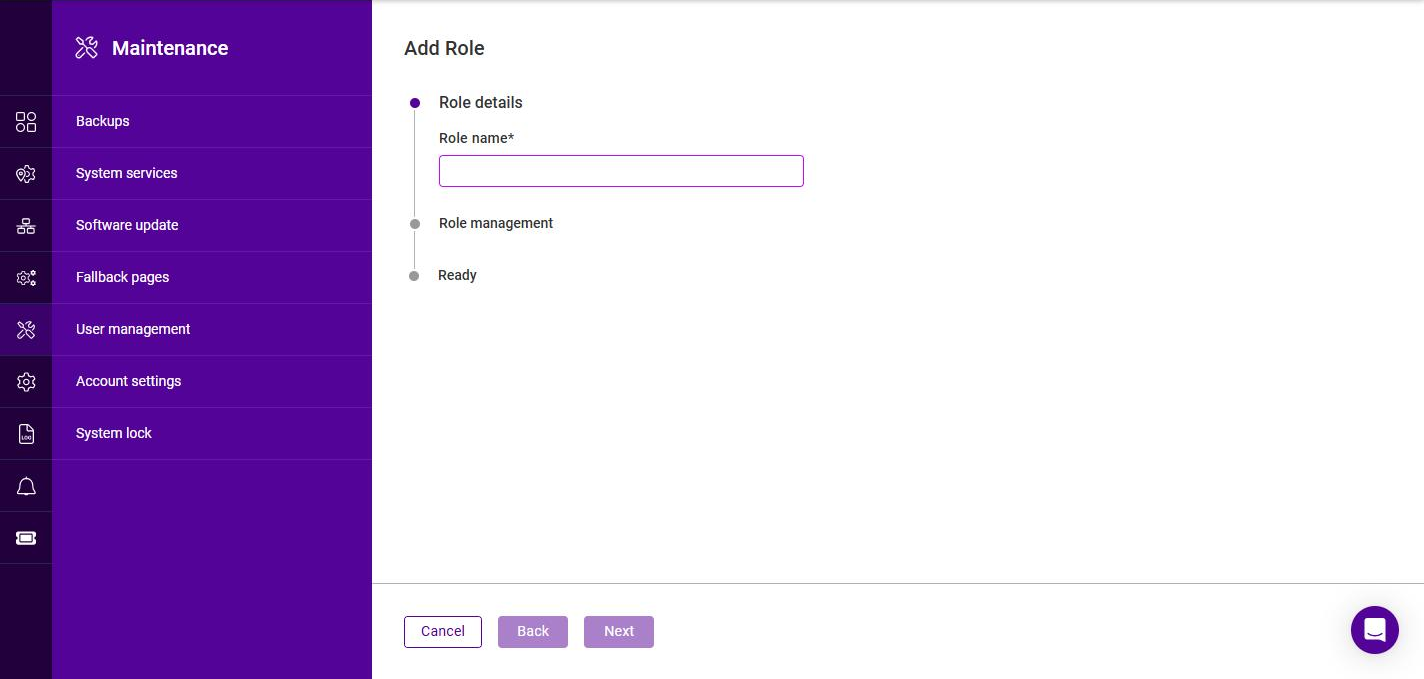
Click the Add role button.
-
Specify an appropriate Role name, then click Next.
-
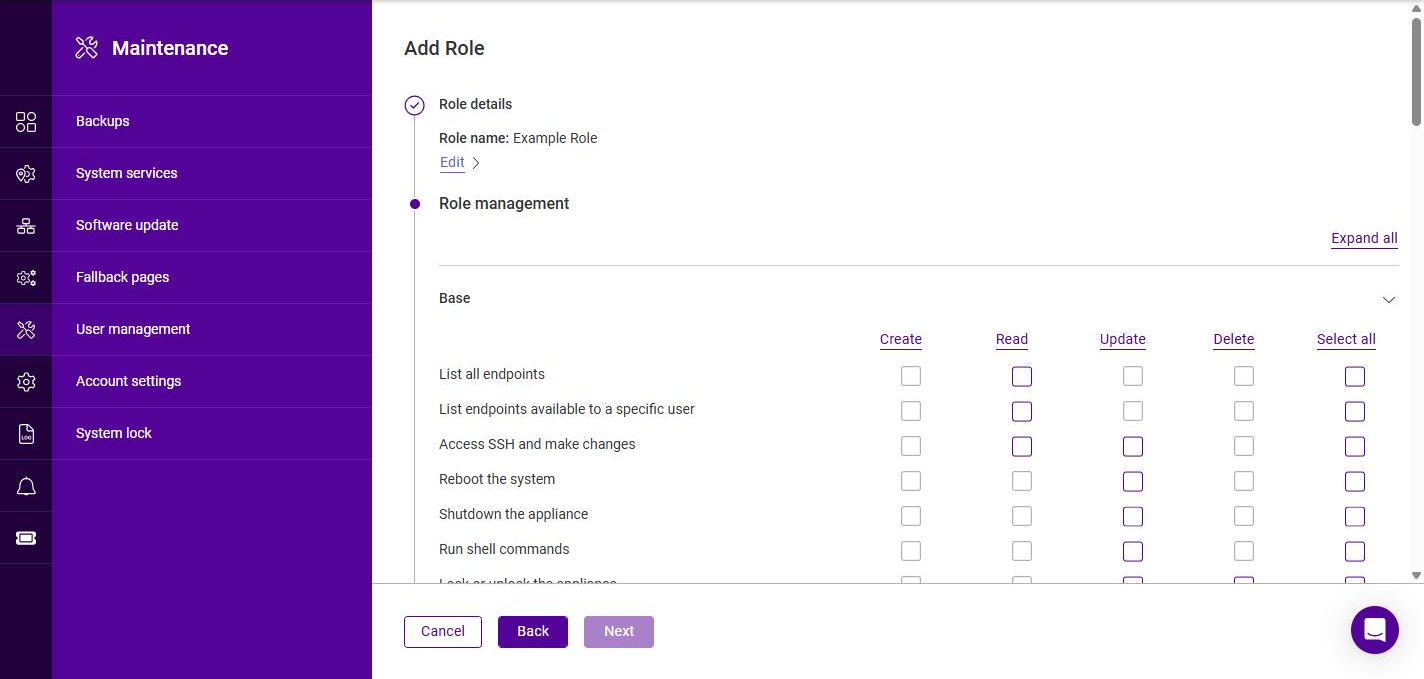
Under Role management, define the permissions for the role. Permissions are organized into categories (e.g. Base, RBAC, Certificates, HAProxy, Backups, and so on). Click Expand all to display every category, or expand the relevant category individually. Each category provides Create, Read, Update and Delete checkboxes (or Select all) along with additional, more granular options.
-
Select the required permissions, then click Next.
-
Review the summary under Ready, then click Submit.
To modify, duplicate or delete a role:
-
On the Roles tab, click the three dots menu next to the relevant role.
-
Click Edit to change its permissions, Duplicate to create a new role based on it, or click Delete then Confirm to remove it.
| The default System Admin role cannot be edited or deleted, but it can be duplicated and used as the basis for a custom role. |
Groups
A group associates one or more roles with a set of users, enabling permissions to be assigned based on group membership.
To create a group:
-
Using the WebUI, navigate to Maintenance > User management and select the Groups tab.
-
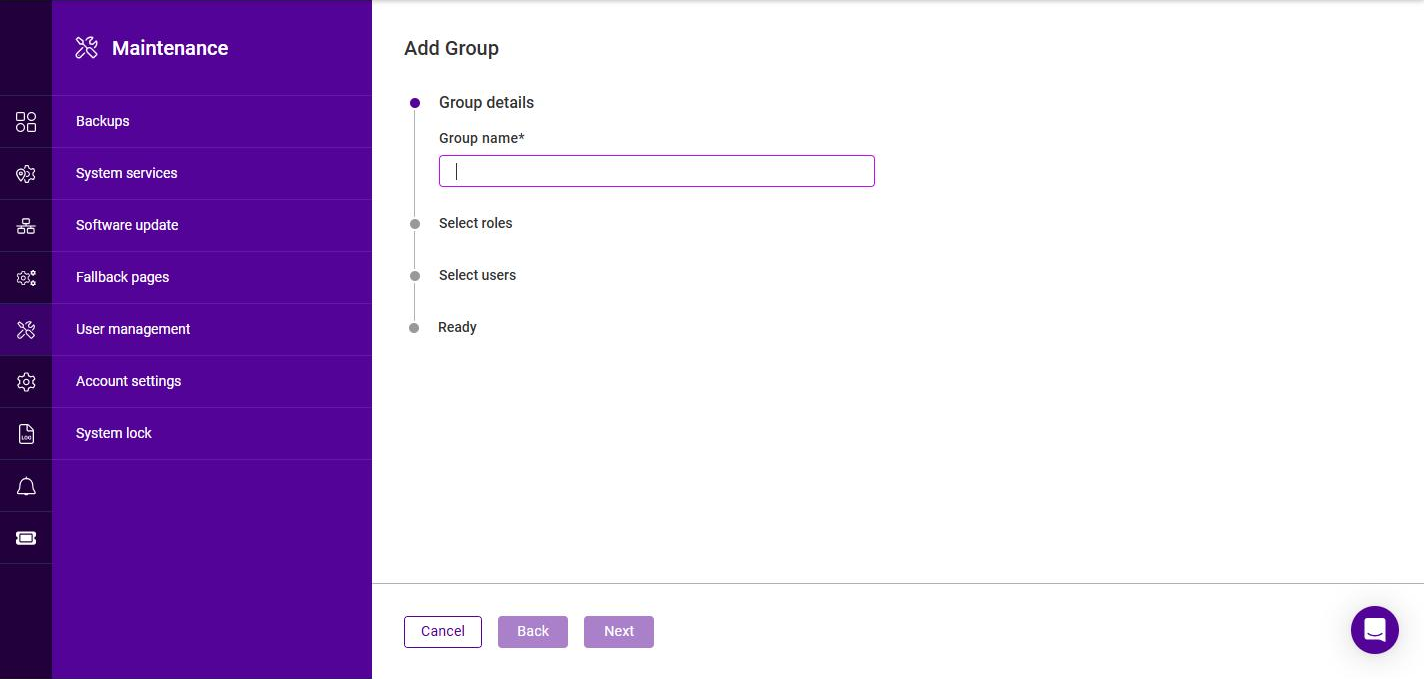
Click the Add group button.
-
Specify an appropriate Group name, then click Next.
-
Under Select roles, select the role(s) to associate with the group, then click Next.
-
Under Select users, select the user(s) to add to the group, then click Next.
-
Review the summary under Ready, then click Submit.
To modify or delete a group:
-
On the Groups tab, click the three dots menu next to the relevant group.
-
Click Edit to change its roles or members, or click Delete then Confirm to remove it.
Account settings
The details and interface preferences for the currently logged in user can be changed here.
To modify account settings:
-
Using the WebUI, navigate to Maintenance > Account settings.
-
Update the First name, Last name and Email as required.
-
To change your password, enter and confirm a new Password. Leave the password fields blank to keep your current password.
-
Under Extras, a number of user interface preferences can be set, including Primary menu always open (keeps the primary navigation menu expanded rather than collapsed to the icon rail), Secondary menu floats, Tab to help and Code editor(s) dark theme. A Theme selector is also present but is not yet available.
-
Click Submit.
System lock
The appliance can be locked to prevent configuration changes from being made, for example during planned maintenance or while updates are being applied. When locked, the configuration is protected and no changes can be made until the appliance is unlocked.
To lock the appliance:
-
Using the WebUI, navigate to Maintenance > System lock.
-
Select the System is locked checkbox.
-
Select a Reason for lock: Under maintenance, Locked for updates or Custom message. If Custom message is selected, enter the message to be displayed (maximum 160 characters).
-
Click Submit.
To unlock the appliance:
-
Using the WebUI, navigate to Maintenance > System lock.
-
Clear the System is locked checkbox.
-
Click Submit.